Webview를 이용한 웹사이트 패키징
이번에 Webview를 사용해보겠습니다.
먼저 만들어두었던 Screen 디렉터리에 Webview를 위한 클래스를 하나 만들어줍시다.
class InitialWebView extends StatelessWidget {
  const InitialWebView({Key? key}) : super(key: key);

  @override
  Widget build(BuildContext context) {
    return Scaffold(
      body: WebView(
        initialUrl: 'https://blog.codefactory.ai',
      ),
    );
  }
}
Scaffold의 Body에 Webview를 주고 첫 페이지를 띄울 URL을 https://blog.codefactory,ai로 주고 폰을 켜봅시다.
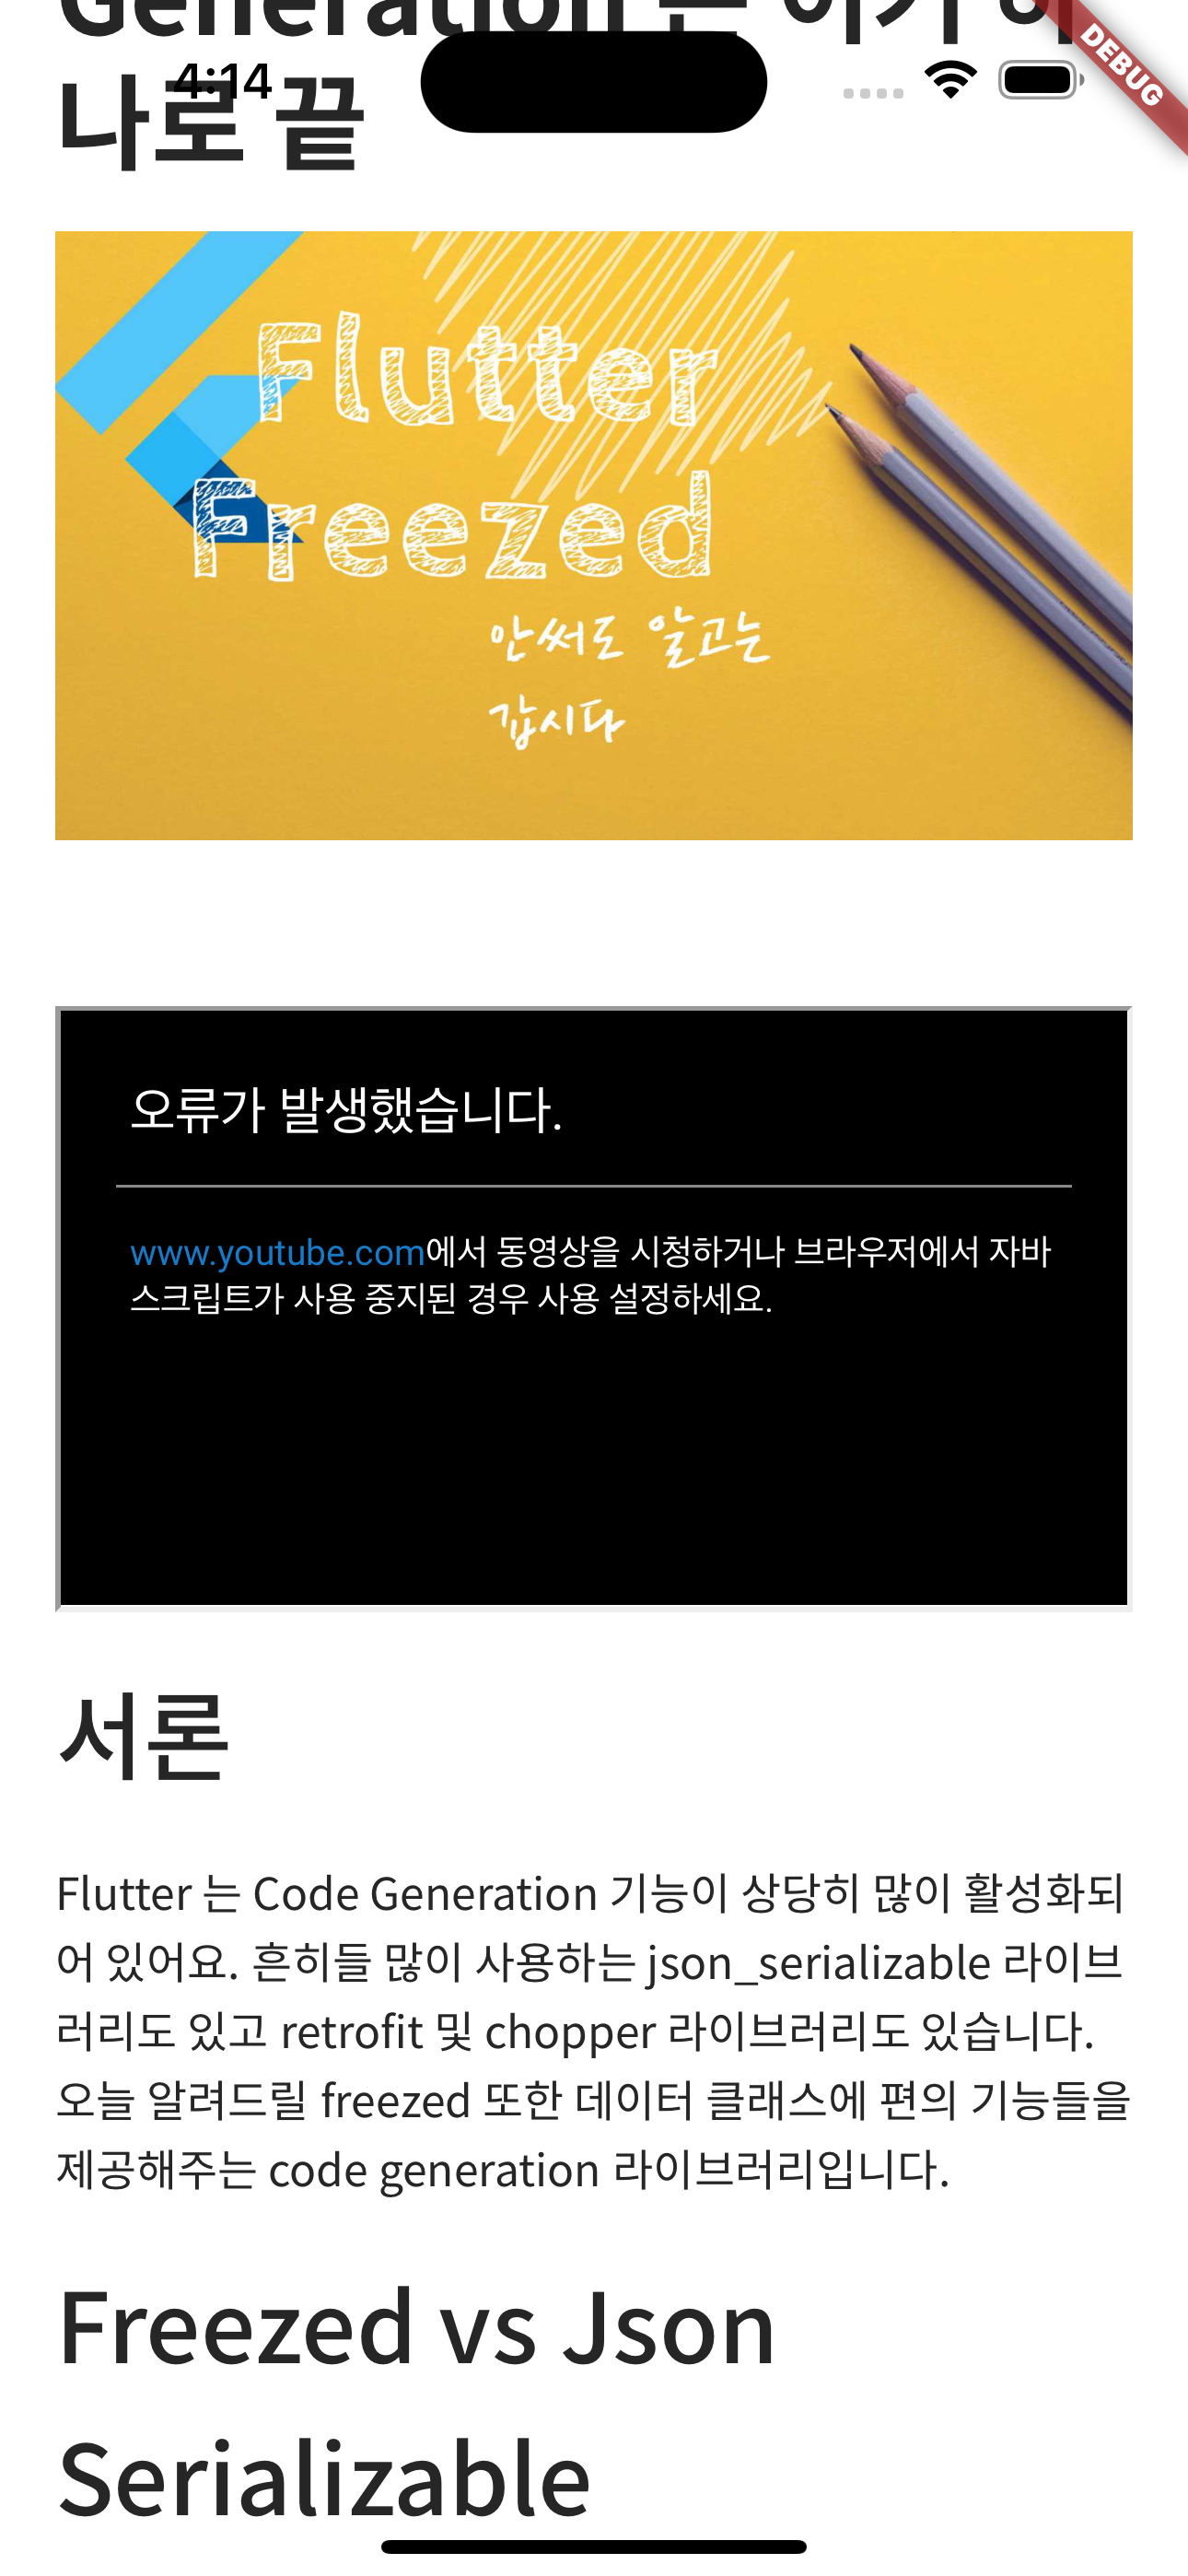
서론 윗부분에 자바스크립트가 사용이 중지된 것을 볼 수 있습니다.
시뮬레이터의 자바스크립트 모드를 ON 시켜 주겠습니다.
위의 코드의 initialUrl 바로 밑에 아래 코드를 써주시면 됩니다. (JavascriptMode의 기본값 : Disabled)
javascriptMode: JavascriptMode.unrestricted

이제 시뮬레이터의 상단에 앱 바를 추가해봅시다.
Scaffold의 파라미터로 appBar를 사용하면 추가할 수 있는데,
앱바의 타이틀만 추가해보겠습니다.
return Scaffold(
  appBar: AppBar(
    title: Text('hello'),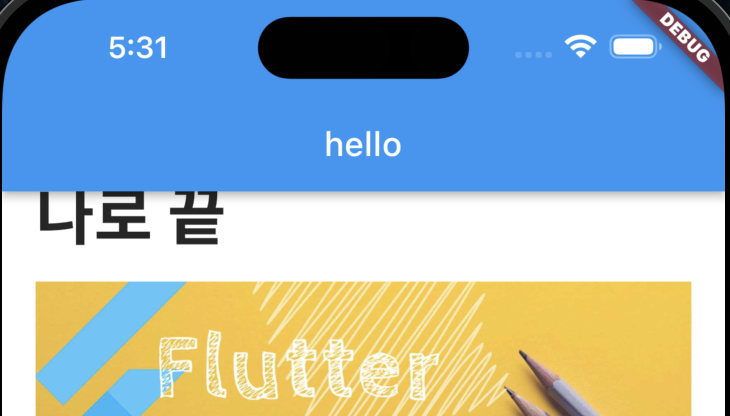
hello 라는 글자가 잘 추가되었습니다.
iOS는 title의 기본 위치가 중간이고 Android는 왼쪽에 위치합니다.
이걸 변경하려면 appBar의 파라미터 중 centerTitle: false 를 입력하면 왼쪽으로, true를 입력하면 다시 가운데로 오게 됩니다.
배경색도 기본으로 파란색이지만 backgraoundColor: Colors.orange로 변경할 수 있습니다.
이 Webview는 Controller를 통해 직접 코드로 컨트롤 할 수 있습니다.
다음 글에서 Controller를 이용해 코드로 Webview를 컨트롤 해보겠습니다.
'📘 Frontend > Flutter' 카테고리의 다른 글
| Flutter - Web View (프로젝트 세팅) (0) | 2023.05.29 |
|---|---|
| Flutter - Row and Column 활용하여 실습 (0) | 2023.05.29 |
| Flutter - Row and Column (Expanded & Flexible Widget) (0) | 2023.05.29 |
| Flutter - Row and Column (CrossAxisAlignment) (0) | 2023.05.29 |
| Flutter - Row and Column (MainAxisAlignment) (0) | 2023.05.29 |